
Hi Minions:
After reading a series of comments, opinions and criticisms, (some without any reason), I had decided to take some time for reflection, a rest, to give me, myself, a response to an existential crisis. But after talking to several people about it, I said: What the hell! I am going to listen to those people, whom I admire and respect, who teach me something new every day.
Why? Because the only way I have to relax is ‘playing’ and writing. Because I have no need, nor to sell anything, nor to sell myself to anyone, (for better or for worse).
So, I’m going to listen:
«I will not waste energy with those people, they do not deserve it, I will use it to do such good articles as I write.»
«I will not waste my energy, because they will remain there, and I will only become angry.»
Not in vain, I think even the most humble of people, has something to teach the world 🙂
That said … What do I want to tell you about? About Windows Forensics Environment, (WinFE), in the new Beta version. Because I have had the privilege of being one of the few to be selected to be a Beta Tester of this new version.
What is WinFE? It is a Live Forensic System, based on the Windows pre-installation environment, which can be executed from a USB device or from an optical drive, which accesses the media by default in read-only mode and Allows to run different forensic software and a varied amount of portable utilities. That is, it is a Bootable Forensic Operating System.
«WinFE is essentially a Windows Preinstallation Environment (WinPE), with two minor registry editions that are applied to ensure that hard disks are not automatically mounted during the WinPE / WinFE boot process, minimizing the risk of contamination of data or evidence. WinFE is a lightweight version of Windows that can be used for many tasks – it is a complete and autonomous operating system and will work independently of any other operating system already installed. «
It can be customized to the needs of each one using batch files, or third party services, such as WinBuilder. And it’s very, very intuitive.
Currently, @WindowsFE is being developed and maintained by @Brett_Shavers, who is, among other things, a digital forensic expert, former police officer and detective, and author of the books ‘Hiding Behind the Keyboard‘ or ‘X-Ways Forensics Practitioner’s Guide‘, among others.
I do not want to give you a ‘boring article’. So let’s get into the mess. First of all. What do we need?
To begin, we will need an image of a Windows 7/10 System, mounted on our computer. As not everyone will have an original license to download a Windows 7 ISO, (Right? 😉 ), We will work on an ISO of Windows 10, given that Microsoft does allow its download, still lacking License, using the Microsoft Media Creation Tool. If you work from a Windows 10 System, you can download the ISO image without any problem, directly.
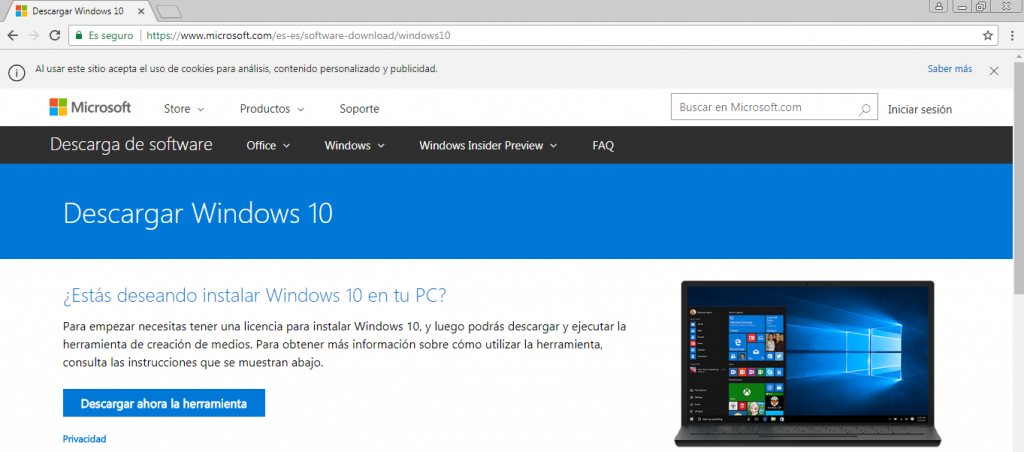
Once downloaded, we execute it. We accept the license terms, without reading them, as we usually do.
And we proceed to create an ISO file of Windows 10.
What more do we need, as an essential requirement?
Well I think we have to have downloaded the beta version of Mini WinFE. You can find information about the MistyPE project here, and information about the MistyPE project, related to WinFE, here
I remind you that this is a beta so it is not free of errors. But this seems to me a very interesting environment.
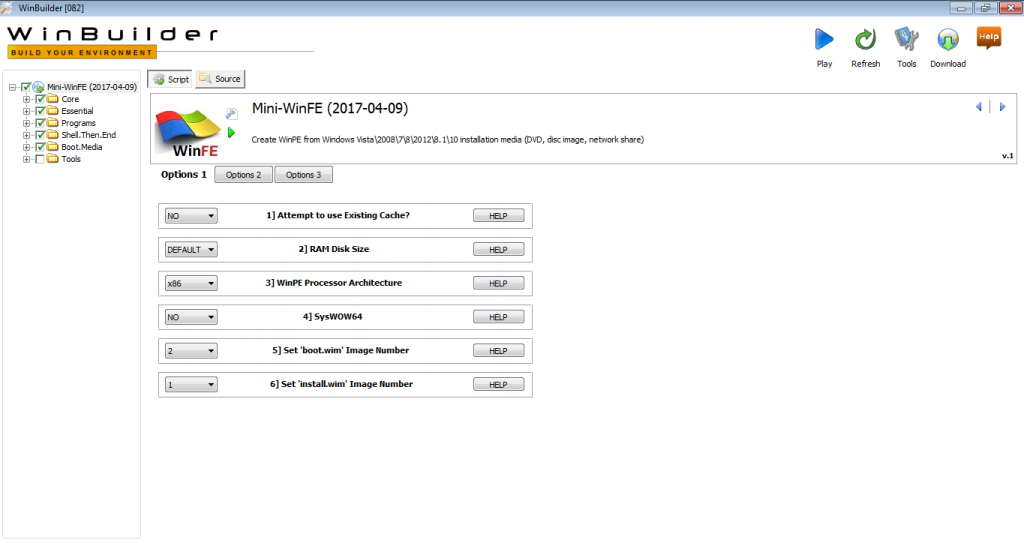
Once unloaded, we unzip it and run it, to show us this nice window.
We will dissect some articles of the LEC and LECrim, each field a little, although we could leave everything by default, without any problem.
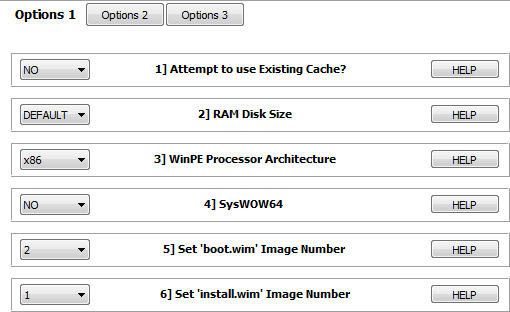
The first thing that we find, within ‘Options 1’, is with these options:
1] Attempt to use Existing Cache? The recommendation is that in the first project execution, this option is set to NO.
2] RAM Disk Size This setting is ignored in WinPE 5.x, if the system RAM is greater than 1 GB. That is, with current systems, we can leave it by default.
3] WinPE Processor Architecture If option 1, ‘Attempt to use existing cache?’, Set to NO, the source architecture will be obtained using ‘wimlib-imagex‘ and the WinPE processor architecture configuration will be ignored, unless the source files Verification checks fail.
4] SysWOW64 ‘SysWoW64’ is required to run 32-bit applications on a 64-bit WinPE.
5] Set ‘boot.wim’ Image number Image number 2 is used when using Windows installation media.
6] Set ‘install.wim’ Image number In most cases, image number 1 should be selected when using Windows installation media.
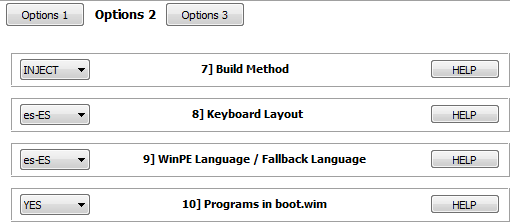
We moved to ‘Options 2’
7] Build Method The INJECT method is faster and requires less free storage space.
8] Keyboard Layout The keyboard configuration is set.
9] WinPE Language / Fallback Language This setting is only used if the source file language can not be verified by ‘wimlib-imagex’.
10] Programs in boot.wim MistyPE has the option to copy most of the program files to an external directory so that they are not included in ‘boot.wim’. There are a number of advantages to this approach. The main one is the ability to update individual programs without having to rebuild the project. As an added advantage, ‘boot.wim’ will be smaller in size and will require less RAM to boot MistyPE. The base programs will continue to be copied inside ‘boot.wim’, which are:
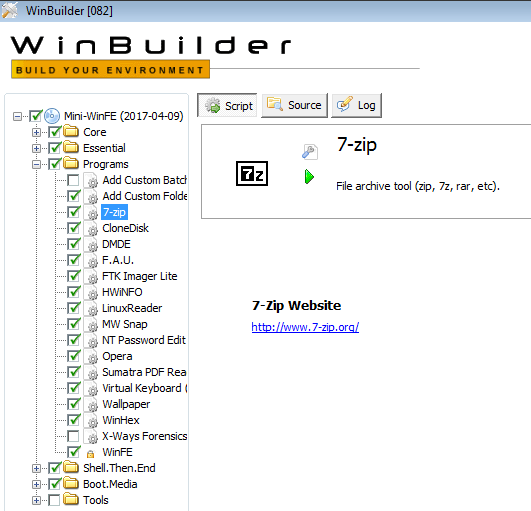
- 7-Zip
- dd
- Defraggler
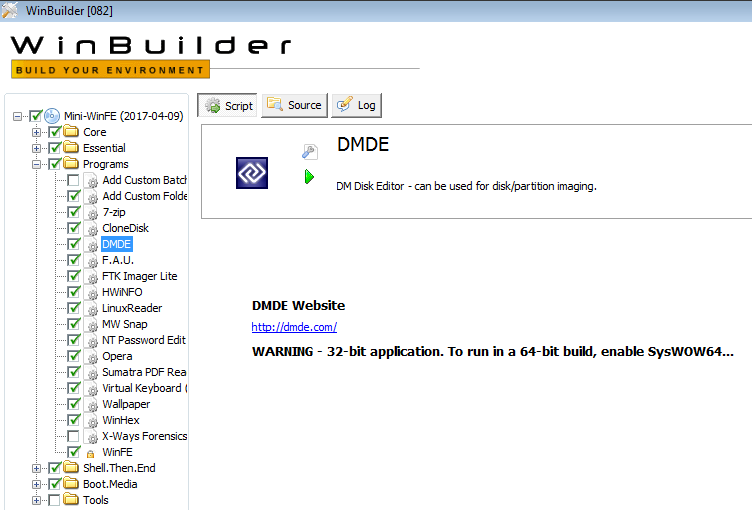
- DMDE
- DriveImageXML
- Eraser
- Ghost
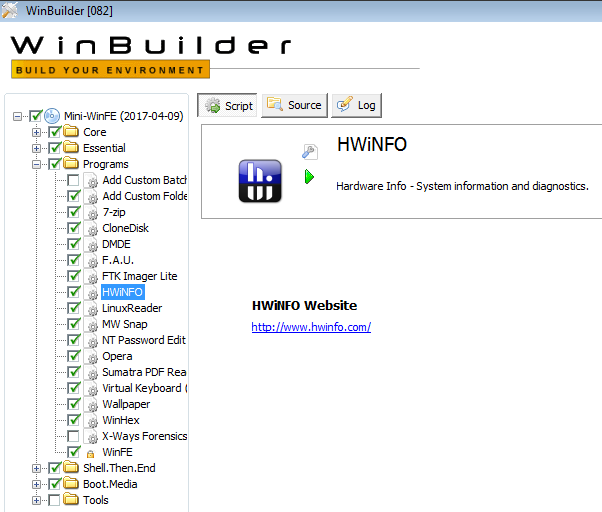
- HWiNFO
- JkDefrag
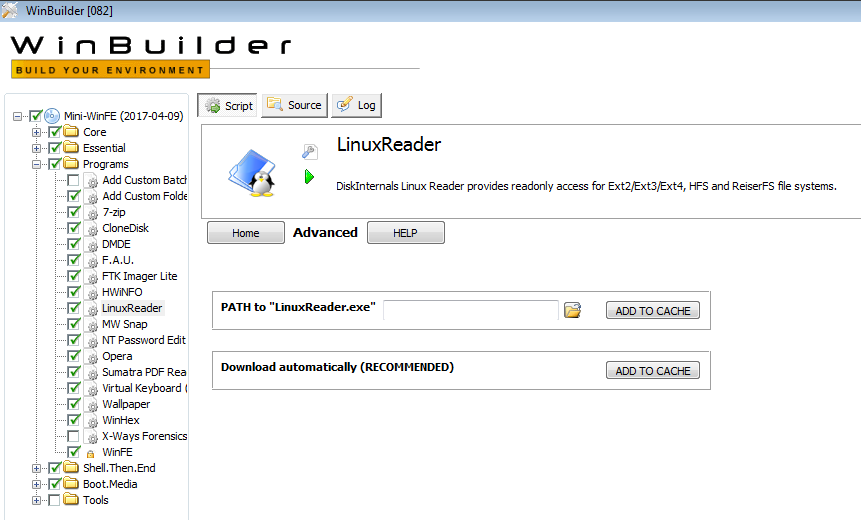
- LinuxReader
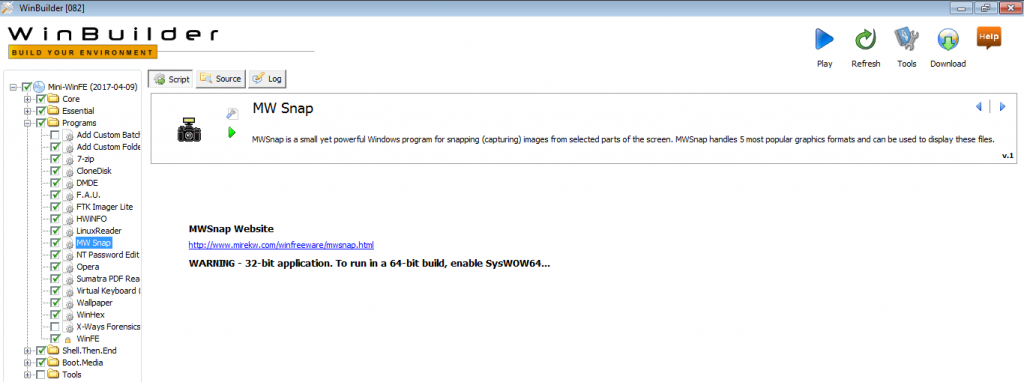
- MW Snap
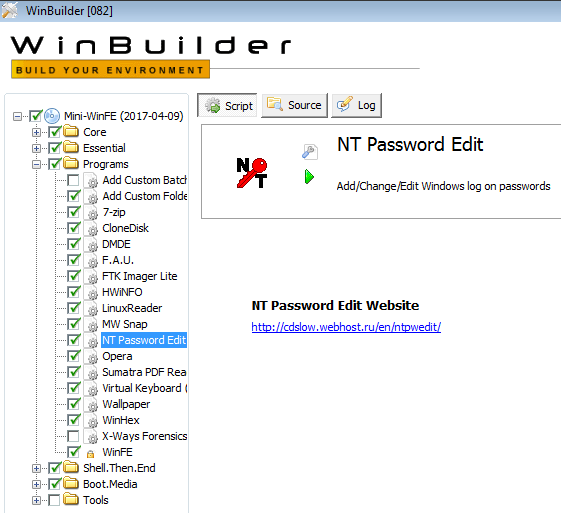
- NT Password Edit
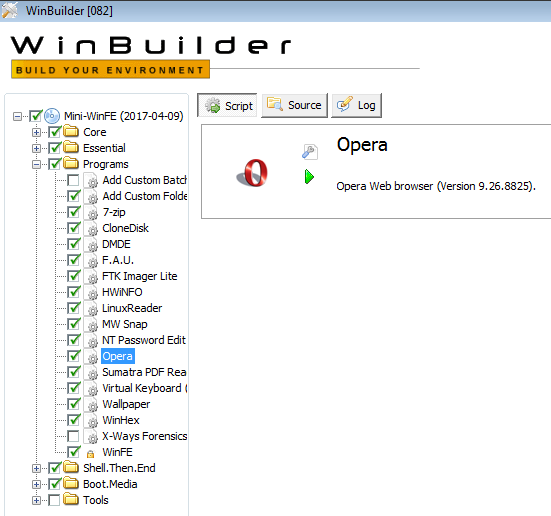
- Opera
- PartitionGuru
- PTEdit
- Recuva
- DriveSnapshot
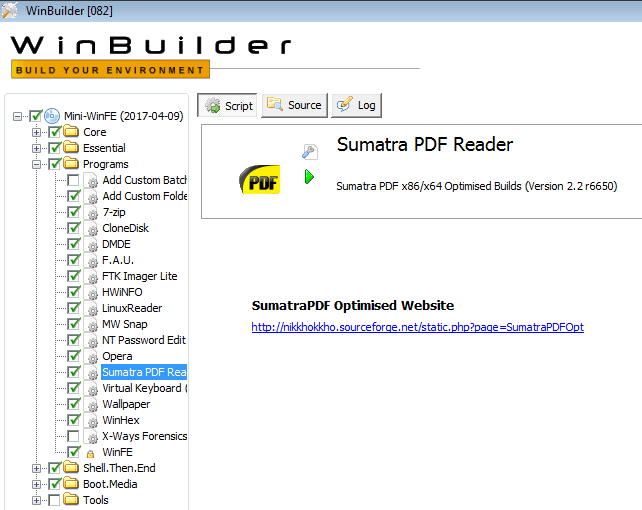
- Sumatra PDF
- TinyHexer
- Forensic Acquisition Utilities
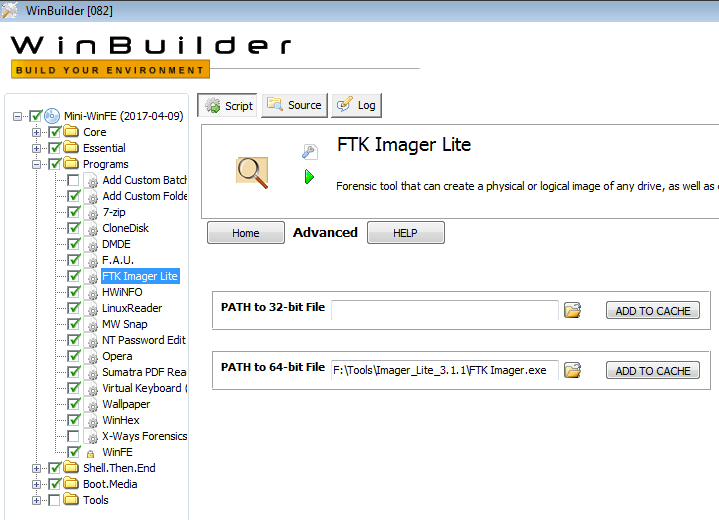
- FTK Imager Lite
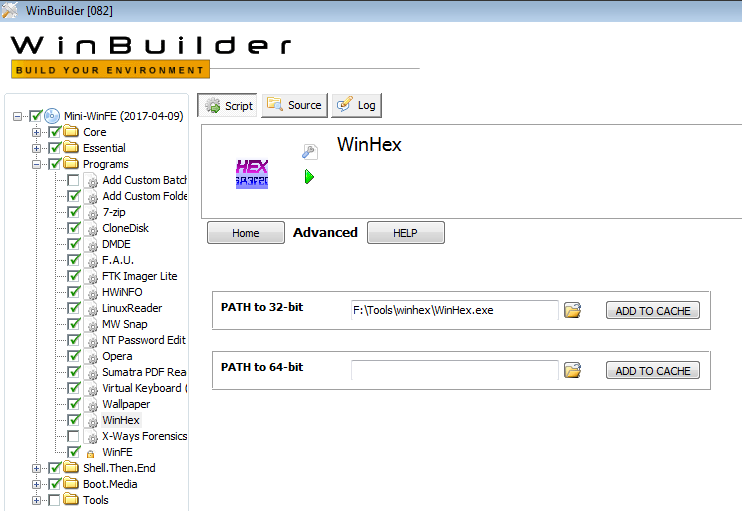
- X-Ways Forensics
11] LaunchBar Is a small free Windows program that mimics the behavior of the QuickLaunch toolbar.
We now move to ‘Options 3’
1] UAC Check Checks if the User Account Control is enabled and alert, with a message, if this happens, to the user.
2] Admin Check Check if the user has administrative privileges and aborts the project otherwise, because he needs to run under those privileges.
3] Log File
Generates a log, based on date and time, with project information.
So, we already have a first configuration of the project, which can be, for example, as in the following image.
We now move to the ‘Core Files’ section.
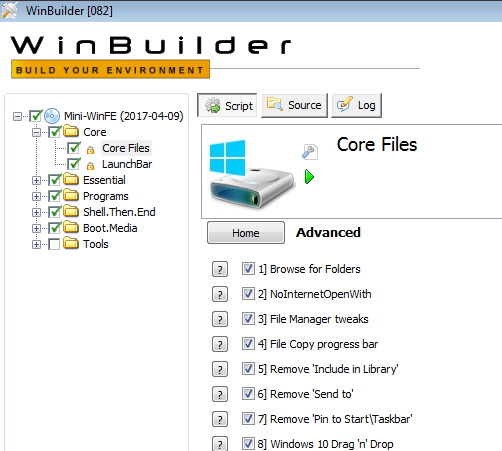
And from this script we will not touch anything. Among other things because it is blocked because that is where most of the project work will be based.
We headed to ‘LaunchBar’.
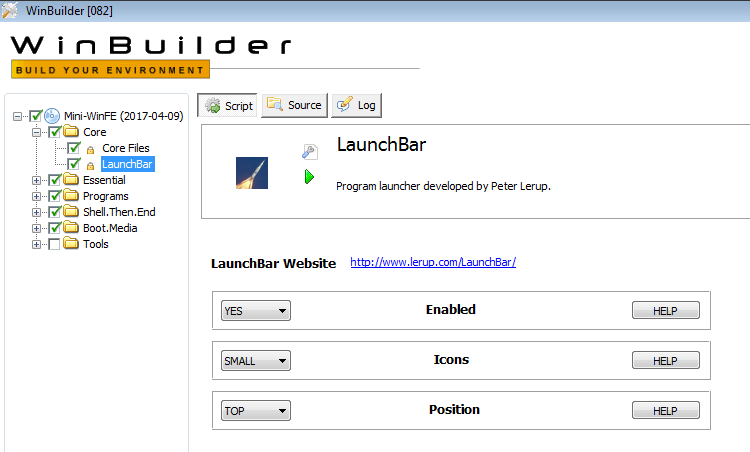
Here we can choose if we want a menu bar in our WinFE, if we want the small or large icons, and their position.
We are now going to ‘Essential’, which are considered as essential scripts.
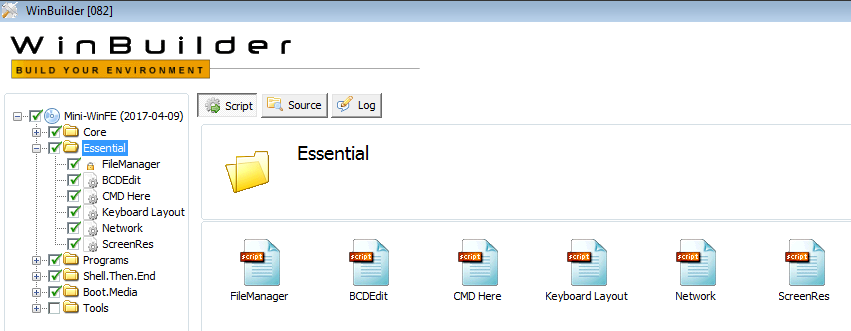
From this section, we can disable all, except for ‘FileManager’, which is imperative. Let’s look at its contents.
FileManager Adds a file browser, replacing Window’s original. We can choose between Q-Dir and a43.
BCDEdit It is a command line tool that is used to create and edit BCD stores, the boot configuration file used in all editions of Windows since the version of Windows Vista. At this point, this script only adds some ‘.txt’ based instructions to the compilation.
CMD Here Start a command prompt from the context menu of the right mouse button.
Keyboard Layout Change the keyboard layout in WinPE while it is running.
Network This will add a batch file, plus a menu entry to run it. The batch file executes the ‘wpeinit InitializeNetwork’ command, which will initialize the network components and drivers and set the computer name to a randomly chosen value.
ScreenRes This will add a menu option to change the screen resolution.
Let’s go to ‘BlackBox Lean’ now.
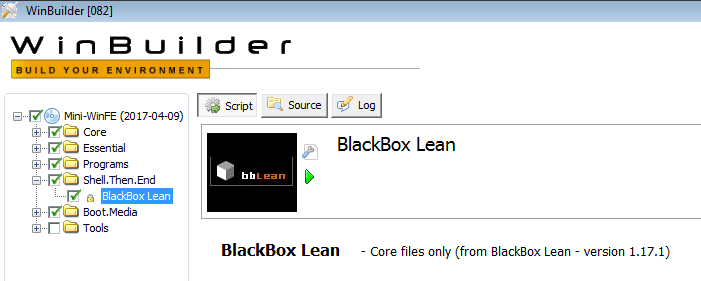
This project uses the BlackBox Lean shell (version 1.17.1) to provide a menu-based user interface.
We will now see the section of ‘Boot.Media’, which is where we will give the option, either to create an ISO image of the project, once compiled, or to create a USB drive boot with it.
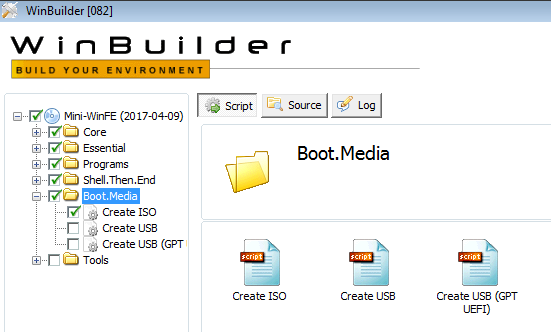
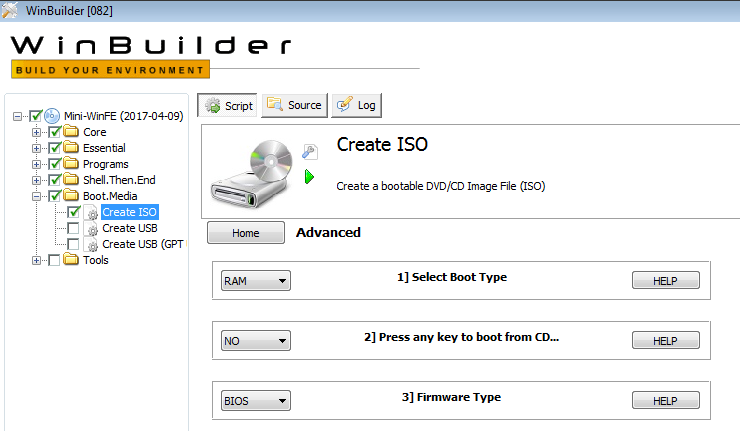
As we are interested in having an ISO image of the project, which later we will record to a disk or a USB drive, we move to the option ‘Create ISO’, where we will observe that the default configuration will create an ISO file of RAM startup, which is worth to us.
Let’s now look at the ‘Tools’ section, although, from here, you will not need to touch anything.

Here we have several options.
Add Program This script can be used to add additional programs / packages to the MistyPE project. But in this beta it is very limited because there are no packages available.
ADK Allos support for Powershell, .NET Framework, HTA, etc.
Advanced Options Allows you to mount and unmount registry keys and allows you to add additional files to ‘boot.wim’.
Cache Files Create a cache for use in the project.
Test in QEMU Test the ISO file created, in QEMU.
Update Project Allows you to check and install any MistyPE updates
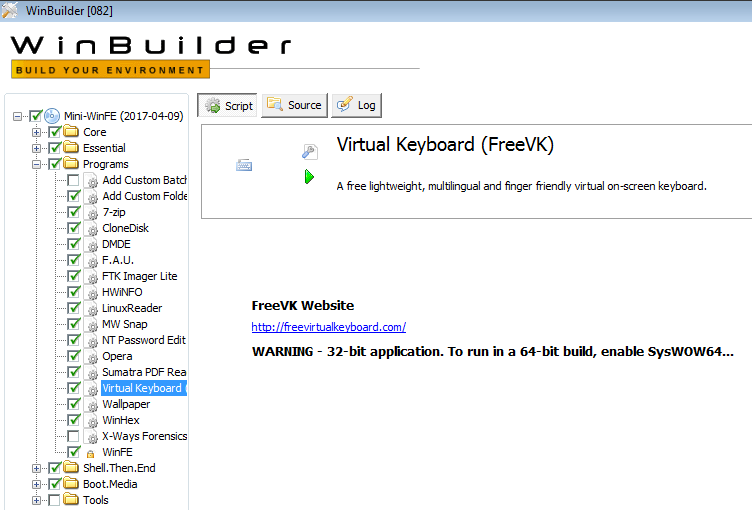
Now we go to the section ‘Programs’, which I wanted to leave for the end, to be, perhaps, the most interesting.
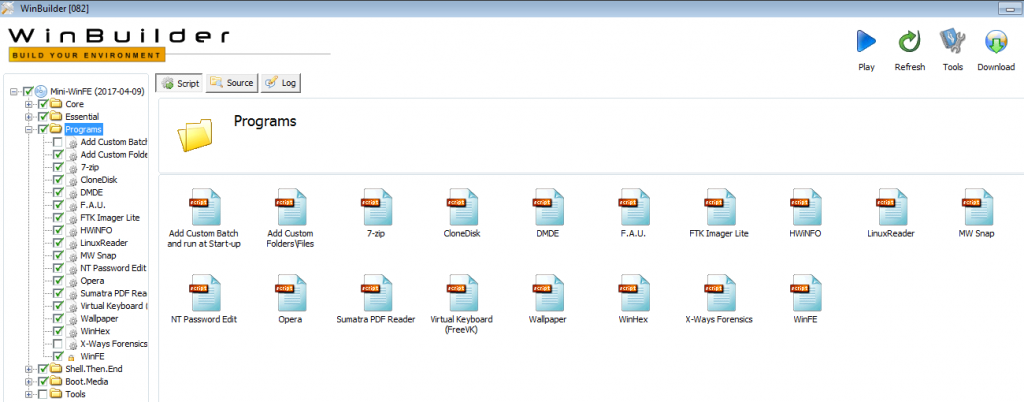
Add Custom Batch and run at Start-up It allows adding a custom batch file to the compilation and editing the custom batch file through a button embedded in the script.
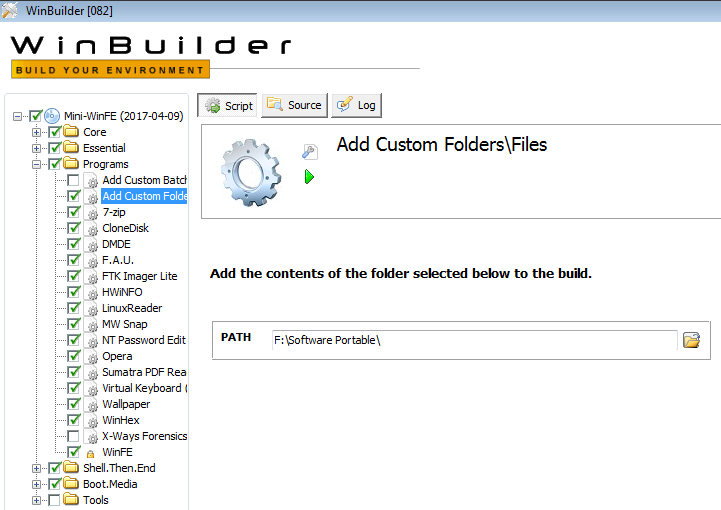
Add Custom Folders\Files Select a directory, whose contents will be added to the compilation, as in the following image.
As for the tools incorporated in this project …

Forensic Acquisition Utilities (FAU)

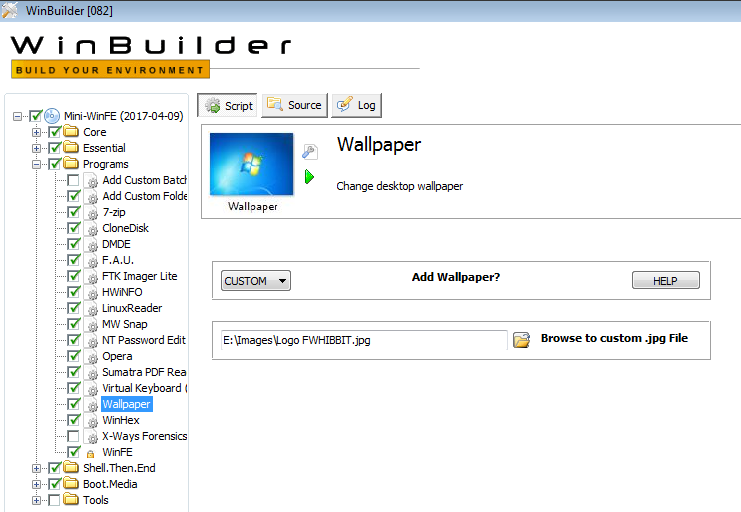
Wallpaper

WinFE
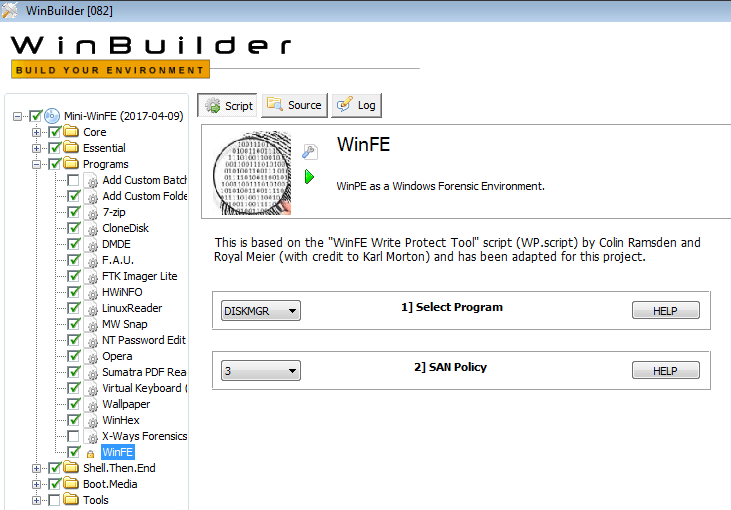
This last script, ‘WinFE’, can not be disabled because it is in charge of making the modifications of the Registry so that this project behaves as if we were in a forensic environment. It will give us the option to choose the type of SAN Policy.
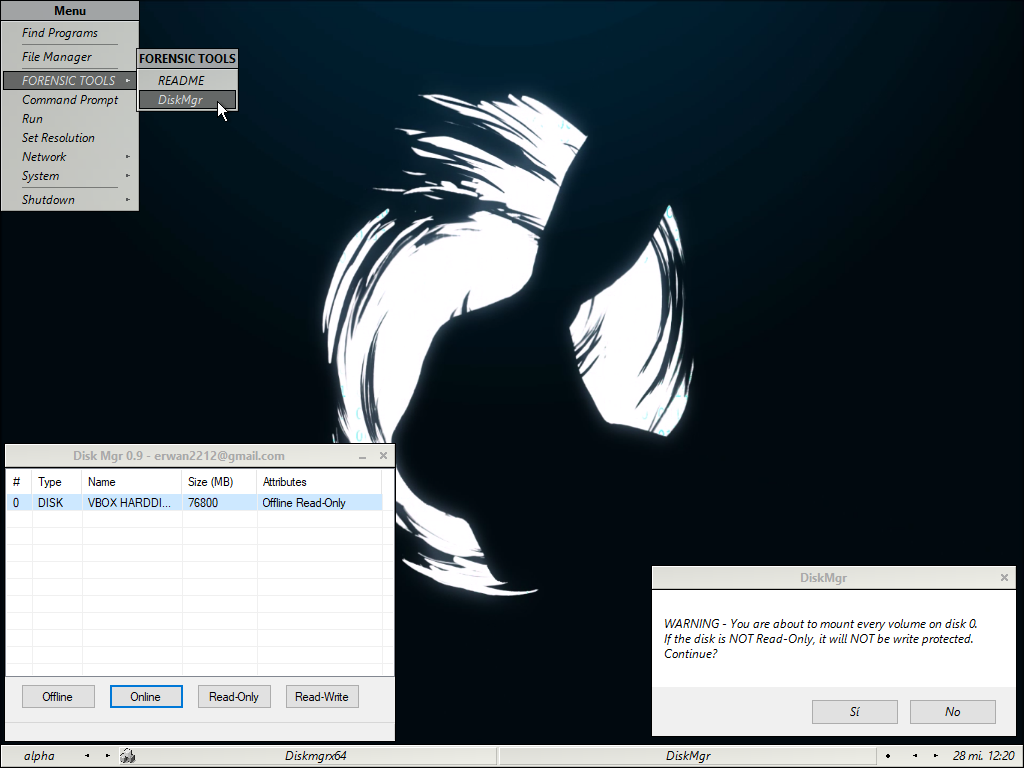
This project includes two tools that allow you to modify the attributes of the disks, such as Read-Only / Read-Write and OFFLINE / ONLINE.
These tools are
WProtect.exe, developed by Colin Ramsden; And DiskMgr, developed by Erwan L.
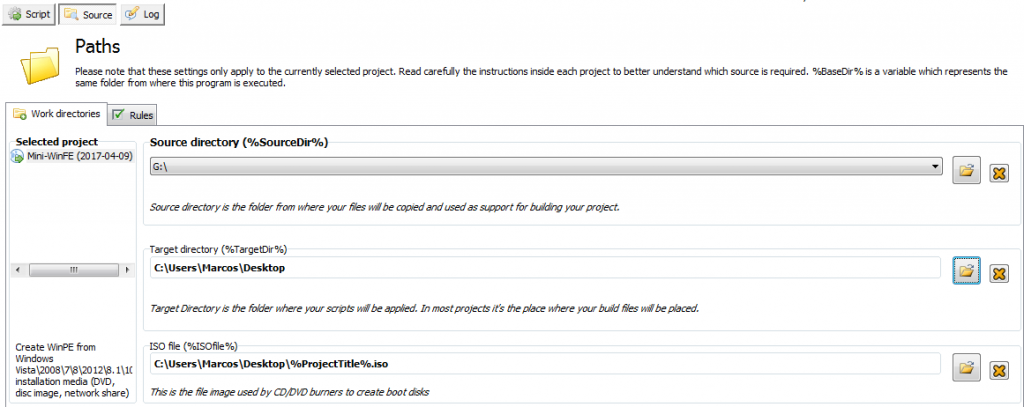
After viewing all this configuration and its options, finally we have to go back to the first menu we have seen, to ‘Mini-WinFE’, and we will click on the ‘Source’ option, because we have to indicate which resource to use to generate the Windows pre-installation environment. So, we just have to tell you the drive where we have previously mounted the ISO image of the System we have used.
And with all this … we hit the ‘Play’ button, so that in an ‘automagic’ way, we create our Forense Live System, based on Windows.

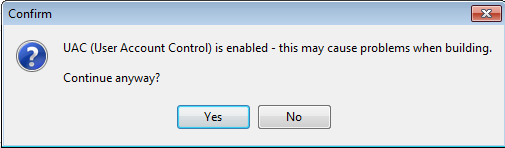
We will see the User Account Control notice, depending on our configuration, as we have indicated.
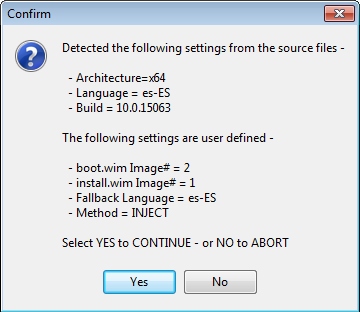
It will tell us the information regarding the basic configuration that we have indicated, to know if it is correct, or not.
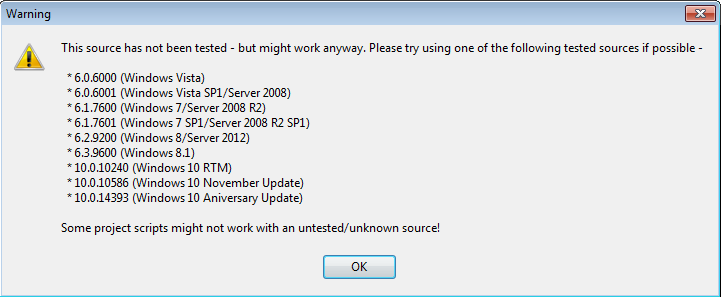
Depending on the Windows System that we have employed, it will give us a notice that tells us that it has not been tested. Normal, being a beta. The tests that I did, gave me a satisfactory result.
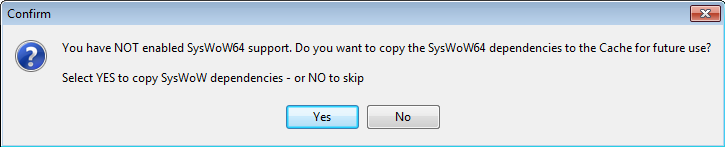
If we have not enabled ‘SysWoW64’ in the project, it will let us know, with option to enable it. The recommendation is to enable ‘SysWoW’.
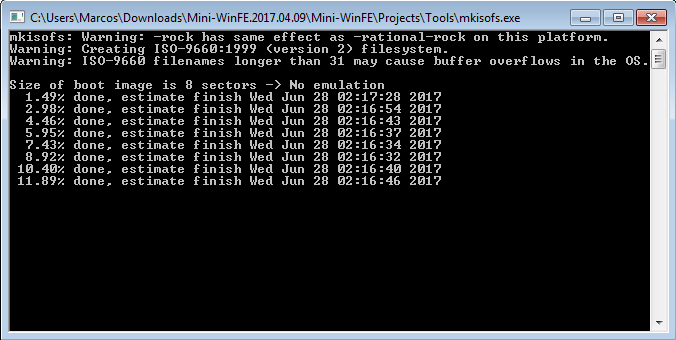
And, as if by magic, it will create our beautiful ISO image, of our fully customized Forensic Environment.
Now, we only have to try it on some System. Lets go for it.
We started it and …
The first thing that we find, before loading the System environment, is the configuration of the disks.
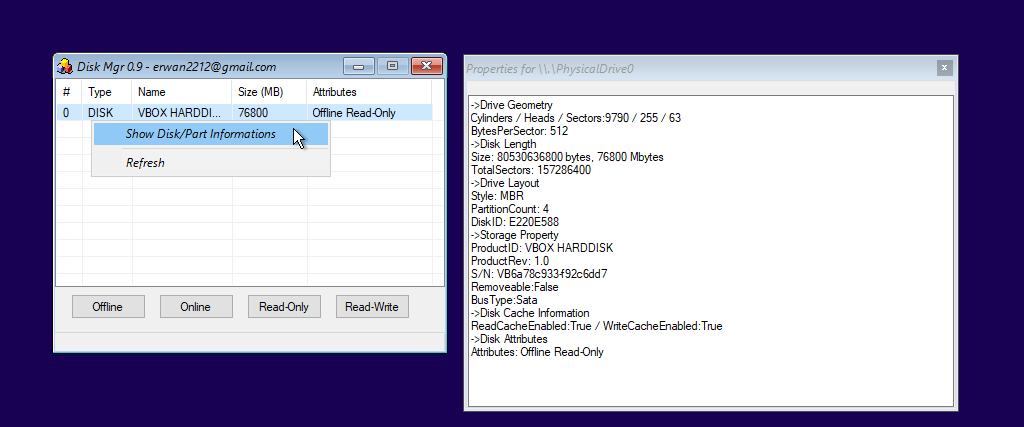
By default, a configuration of disk attributes is set to ‘Offline and Read-Only’, but we can change it, although it is not recommended, until we are not sure which devices we need ‘touch’. Likewise, we can see the information regarding the disks.
Once we have determined which disks will be online, (and always in read-only mode), we close the disk configuration window, so that it finishes loading the environment.
If we need to change the configuration of the disks, for example, by having introduced another, we can do it very easily by displaying a context menu of the mouse.
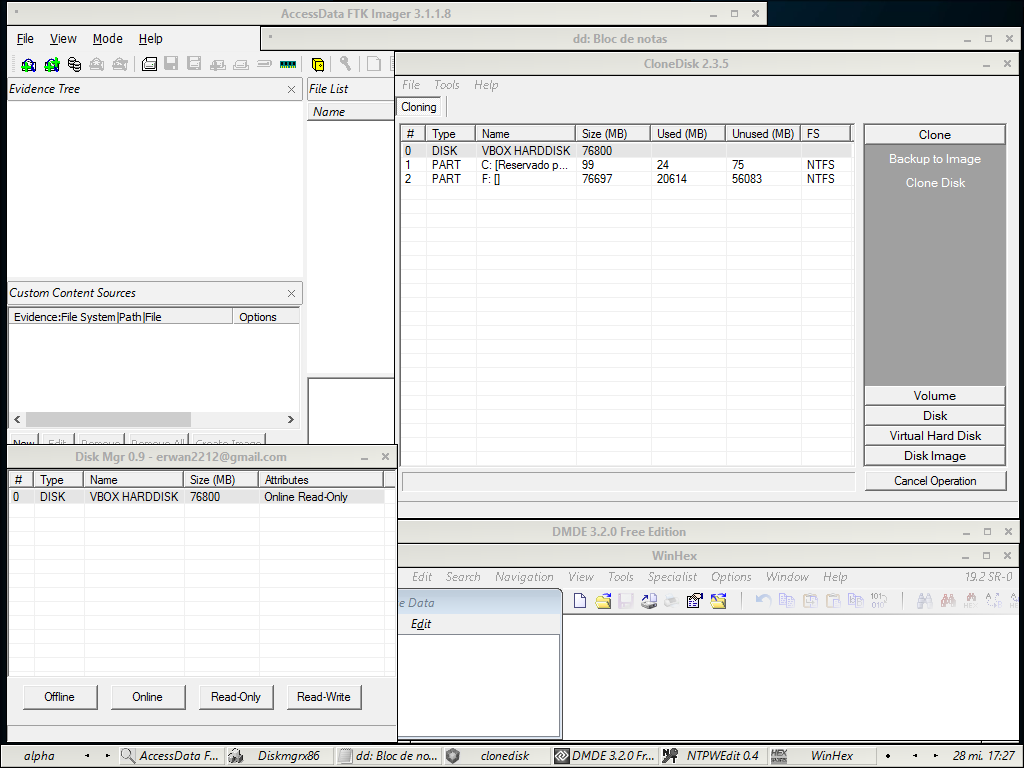
And in this way, we can get a nice forensic environment that fits our needs, based on Windows.
You have all the necessary and very detailed information about this project available on your site.
That is all, for now. See you at the next entry. This Minion, delivered and loyal to you, says goodbye… for now.
PD: I have always thought that time puts each person in its place. That, added to what a very wise person told me …
«There are many mediocre people who sell and criticize what is not. A sign of elegance is to try to be above these things.»
Marcos @_N4rr34n6_
Un comentario en «Windows Forensic Environment – #WinFE Beta (En)»
Thanks for your information! It’s helpful!
Los comentarios están cerrados.